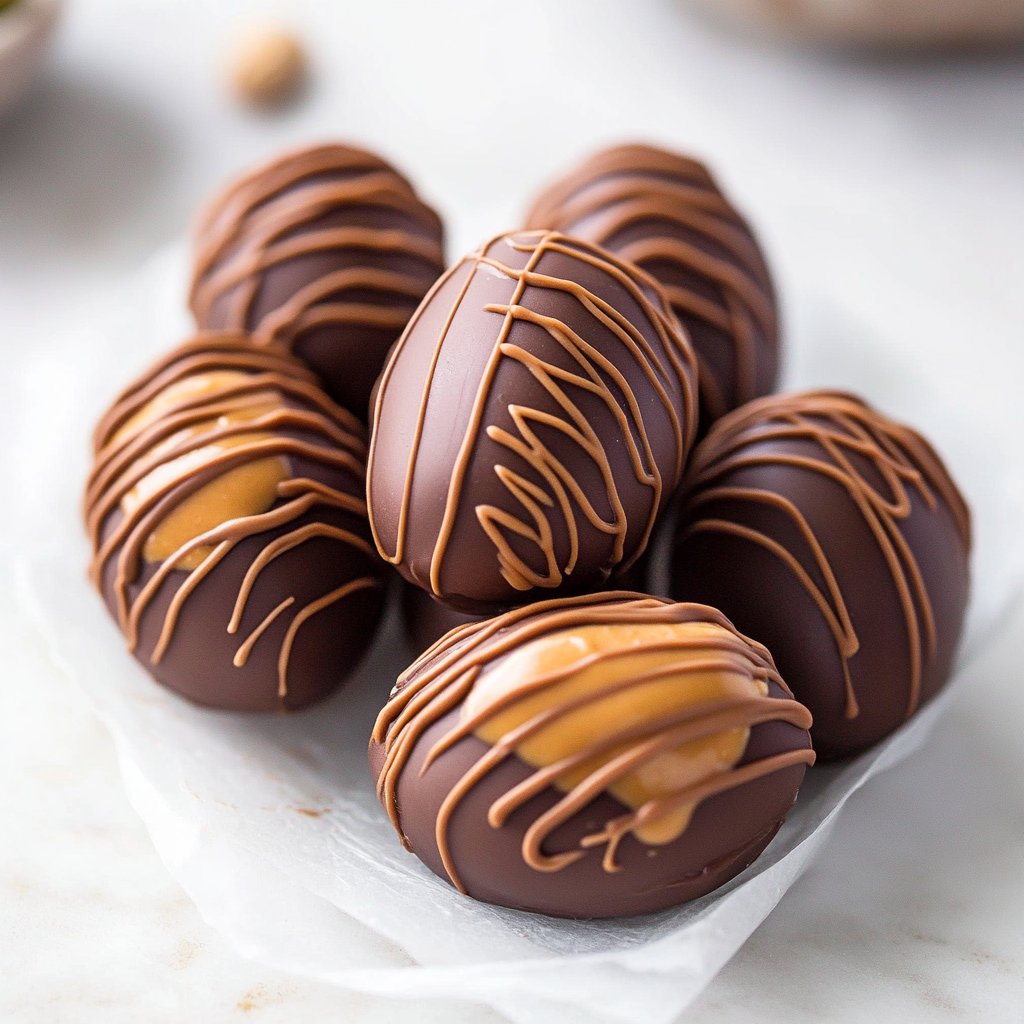
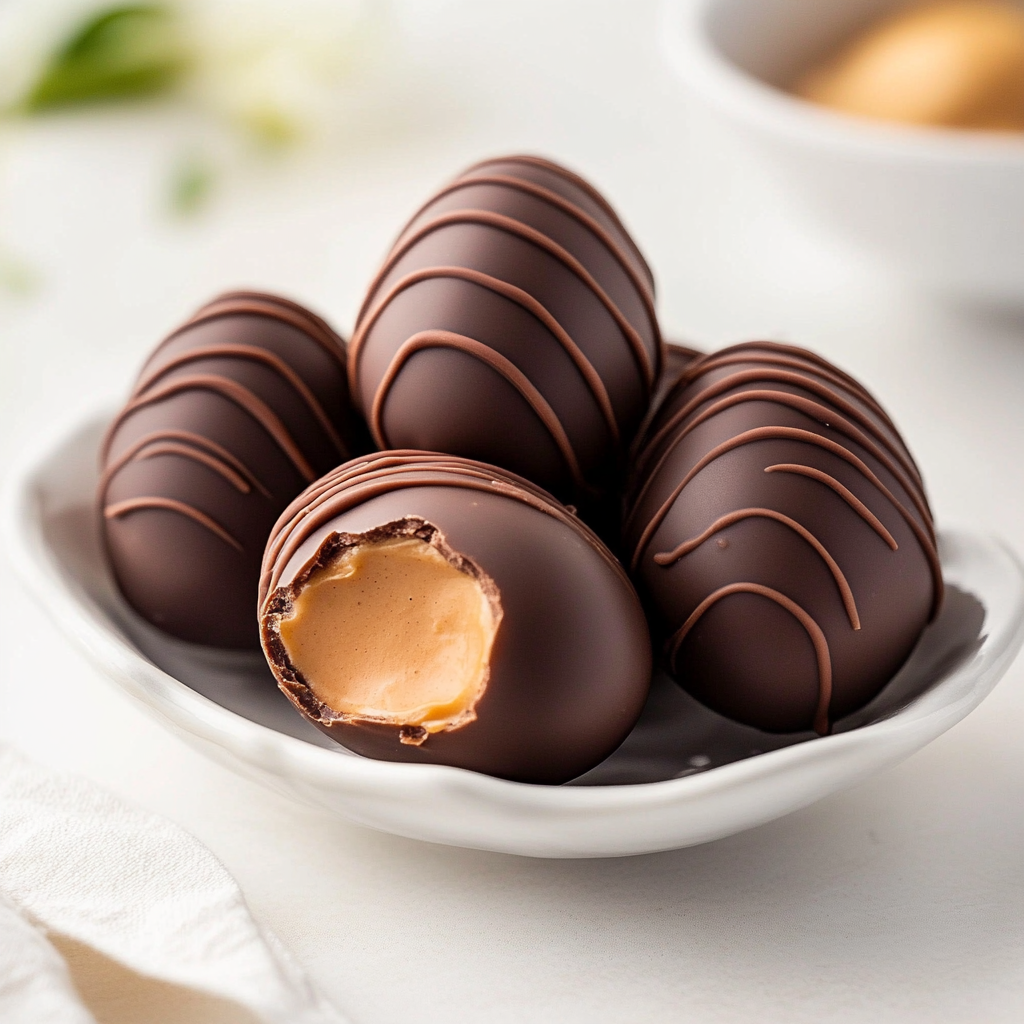
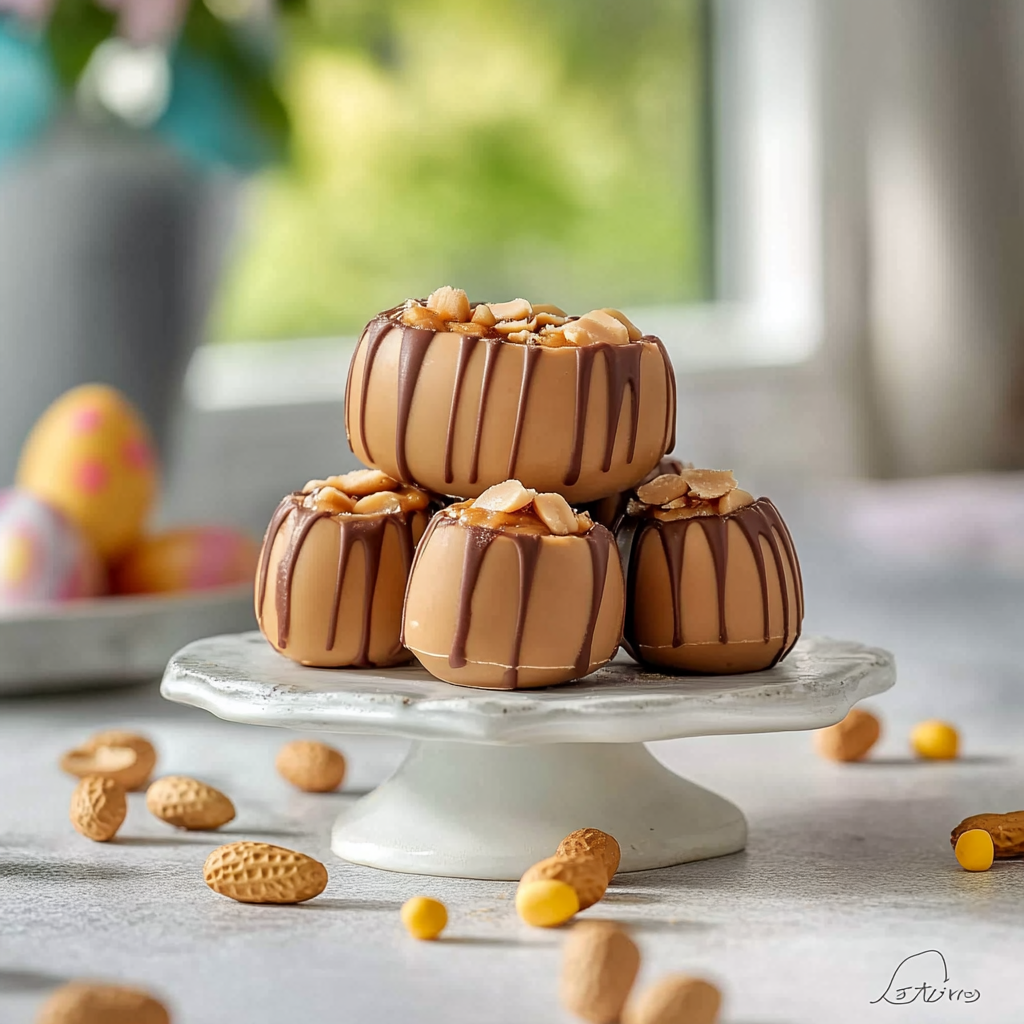
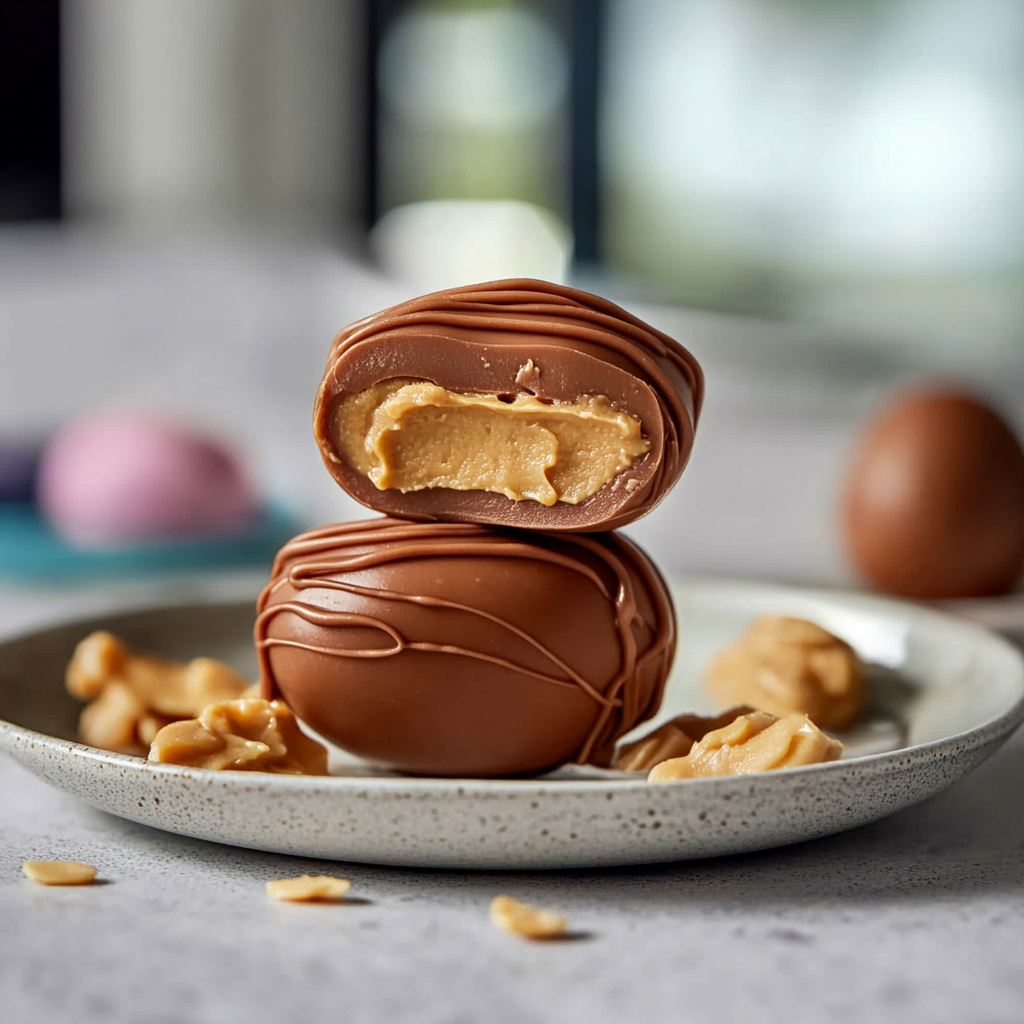
It’s that time of year again when chocolate bunnies start hopping into our lives and sugary treats tempt us from every corner. Imagine biting into a rich chocolate shell only to find creamy homemade peanut butter filling oozing out. Yes, we’re talking about homemade peanut butter Easter eggs! These little delights are not just for kids; they’re a grown-up’s guilty pleasure too.
Growing up, my family made these sweet creations every Easter. It became a tradition that brought us together in the kitchen, all while ensuring we had enough sugar to power a small rocket. Now, I get to share that joy with you! So grab your mixing bowl and let’s whip up some magic!
Why You'll Love This Recipe
- These homemade peanut butter Easter eggs are quick and easy to prepare without any special skills needed
- Their rich chocolate coating beautifully contrasts with the creamy filling
- Perfect for gifting or indulging during the holiday season
- Plus, they’re customizable—add toppings or flavors as you desire!
I still remember the first time I presented these little gems at family gatherings; the delighted squeals from my cousins were music to my ears!
Essential Ingredients
Here’s what you’ll need to make this delicious dish:
- Peanut Butter: Use creamy natural peanut butter for the best texture and flavor; avoid brands with added sugar.
- Powdered Sugar: This helps achieve that signature sweetness and smoothness in the filling.
- Vanilla Extract: A splash adds depth and enhances the overall flavor profile of the filling.
- Chocolate Chips: Semi-sweet or milk chocolate chips work best for coating these delectable treats.
- Coconut Oil: This helps achieve a glossy finish on the chocolate coating while preventing it from hardening too much.
The full ingredients list, including measurements, is provided in the recipe card directly below.
Let’s Make it Together
Prepare the Peanut Butter Filling: In a medium bowl, combine your creamy peanut butter with powdered sugar and vanilla extract until smooth and well-blended.
Shape the Filling into Eggs: Scoop small portions of your filling mixture and roll them into egg shapes using your hands—aim for about 1-2 inches long.
Chill the Egg Shapes: Place your formed eggs on a parchment-lined baking sheet and refrigerate for about 30 minutes until they’re firm enough to handle.
Melt the Chocolate Coating: In a microwave-safe bowl, melt your chocolate chips mixed with coconut oil in 30-second increments until smooth—stir between each interval.
Coat Each Peanut Butter Egg: Dip each chilled egg into the melted chocolate using a fork for an even coating; allow excess chocolate to drip off before placing them back on parchment paper.
Let Them Set Up: Refrigerate your coated eggs for another 30 minutes or until hardened completely; then enjoy or store them in an airtight container!
Now that you have made these delightful homemade peanut butter Easter eggs, share them with family or keep them hidden from prying eyes! Either way, they will be gone before you know it! Enjoy this tasty adventure and don’t forget to save some for yourself!
You Must Know
- Homemade peanut butter Easter eggs are a delightful treat, easy to customize, and perfect for sharing
- Their creamy filling and rich chocolate coating create a heavenly combination that will impress everyone during the holiday season
Perfecting the Cooking Process
Start by preparing the peanut butter mixture first, then chill it before dipping in chocolate for a smooth finish.
Add Your Touch
Feel free to swap peanut butter for almond or cashew butter, or add crushed pretzels for extra crunch.
Storing & Reheating
Store your homemade peanut butter Easter eggs in an airtight container at room temperature or refrigerate them for longer shelf life.
Chef's Helpful Tips
- To ensure uniform size, consider using a cookie scoop; it makes portioning easy
- If you want a deeper chocolate flavor, use dark chocolate chips instead of milk chocolate
- Remember to let the eggs cool completely before serving to avoid melting in your hands
One Easter, I made these eggs for my family gathering and watched as they disappeared faster than I could keep up with!
FAQ
Can I use crunchy peanut butter in homemade peanut butter Easter eggs?
Absolutely! Crunchy peanut butter adds texture and a delightful surprise in each bite.
How long do homemade peanut butter Easter eggs last?
They can last up to two weeks if stored correctly in an airtight container.
Can I freeze homemade peanut butter Easter eggs?
Yes, you can freeze them! Just ensure they’re tightly wrapped to prevent freezer burn.

Homemade Peanut Butter Easter Eggs
- Total Time: 30 minutes
- Yield: Approximately 12 servings 1x
Description
Satisfy your sweet tooth with these homemade peanut butter Easter eggs, featuring a creamy filling enveloped in rich chocolate. Ideal for sharing or indulging yourself!
Ingredients
- 1 cup creamy natural peanut butter
- 2 cups powdered sugar
- 1 tsp vanilla extract
- 2 cups semi-sweet chocolate chips
- 2 tbsp coconut oil
Instructions
- In a medium bowl, combine peanut butter, powdered sugar, and vanilla extract until smooth.
- Shape the mixture into egg shapes (1-2 inches long) and place on a parchment-lined baking sheet. Chill for 30 minutes.
- Melt chocolate chips and coconut oil in a microwave-safe bowl in 30-second intervals until smooth, stirring between each interval.
- Dip each chilled egg into the melted chocolate using a fork for even coating; allow excess to drip off before returning to the parchment paper.
- Refrigerate coated eggs for another 30 minutes until hardened.
- Prep Time: 20 minutes
- Cook Time: 10 minutes
- Category: Dessert
- Method: Chilling
- Cuisine: American
Nutrition
- Serving Size: 1 egg (45g)
- Calories: 180
- Sugar: 14g
- Sodium: 90mg
- Fat: 10g
- Saturated Fat: 4g
- Unsaturated Fat: 6g
- Trans Fat: 0g
- Carbohydrates: 20g
- Fiber: 1g
- Protein: 4g
- Cholesterol: 0mg